Skip to content
Potto AI

AI Photo Editor

Upload a photo, describe the change in plain words, and compare the edited detail with everything you wanted to keep.

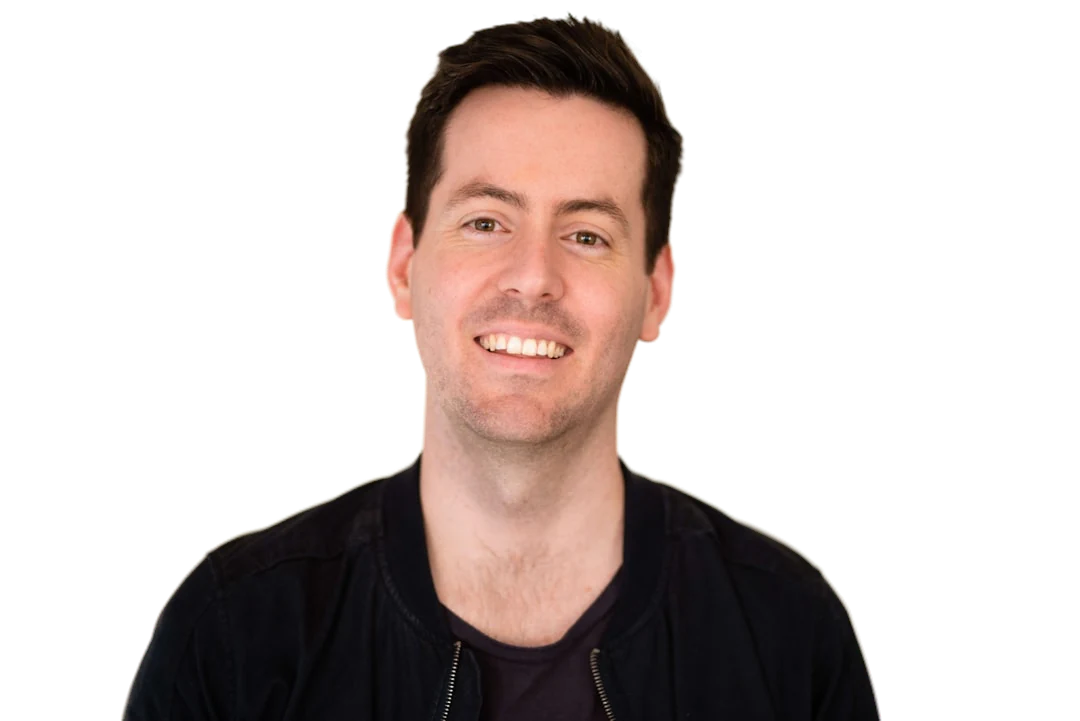
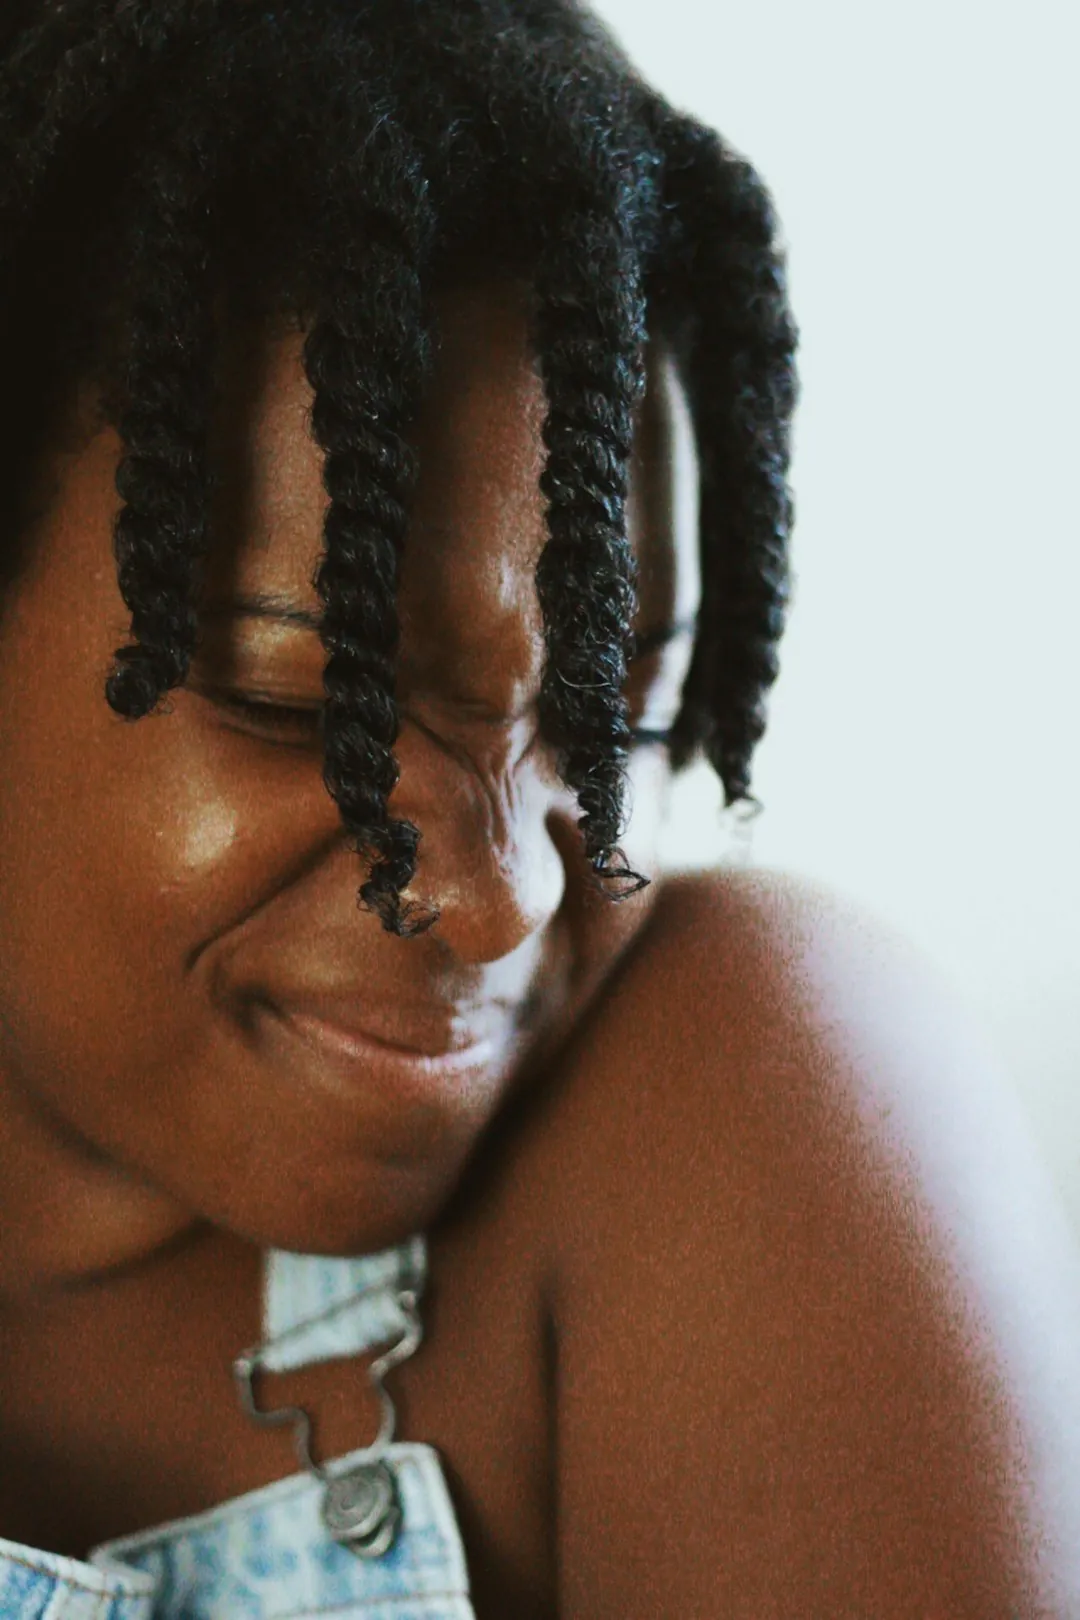
Portrait of a smiling person in flat daylight, before editing
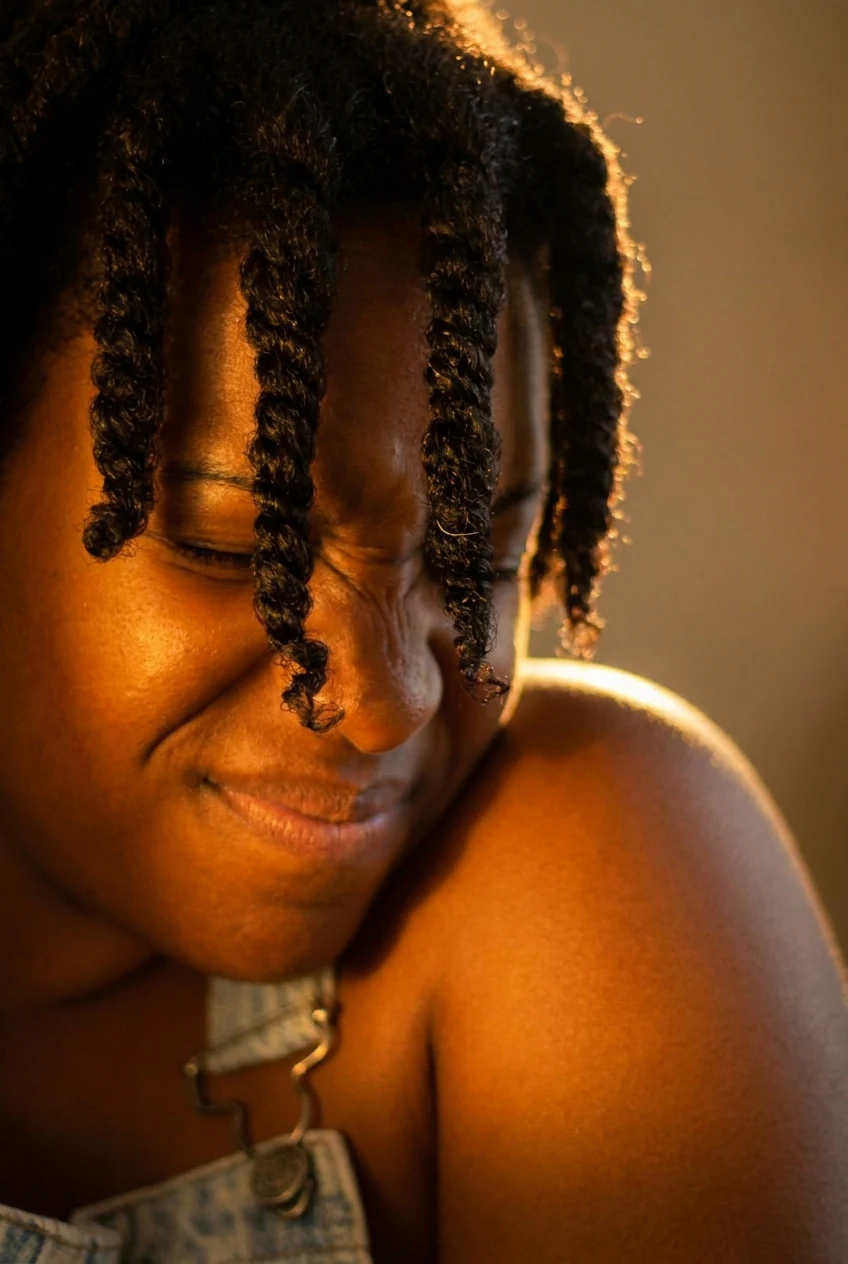
The same portrait relit with warm golden-hour light by the AI photo editor
BeforeAI Generated

“Add warm golden-hour lighting”

Check an AI photo edit against its source

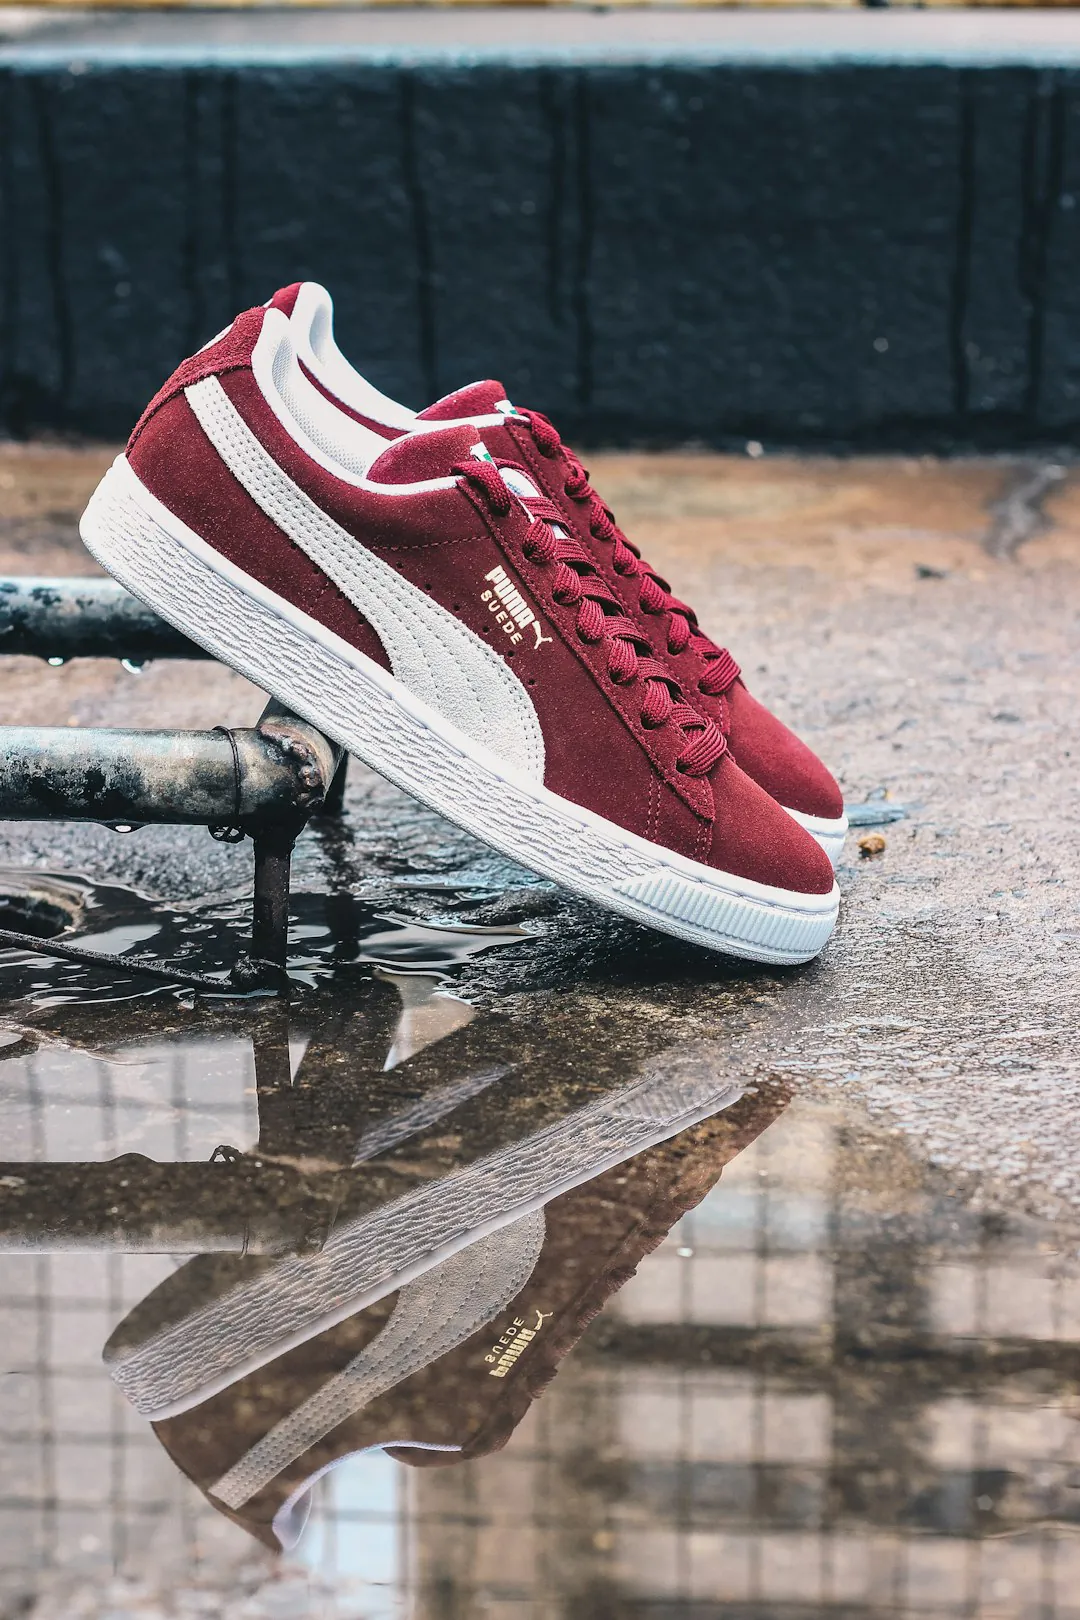
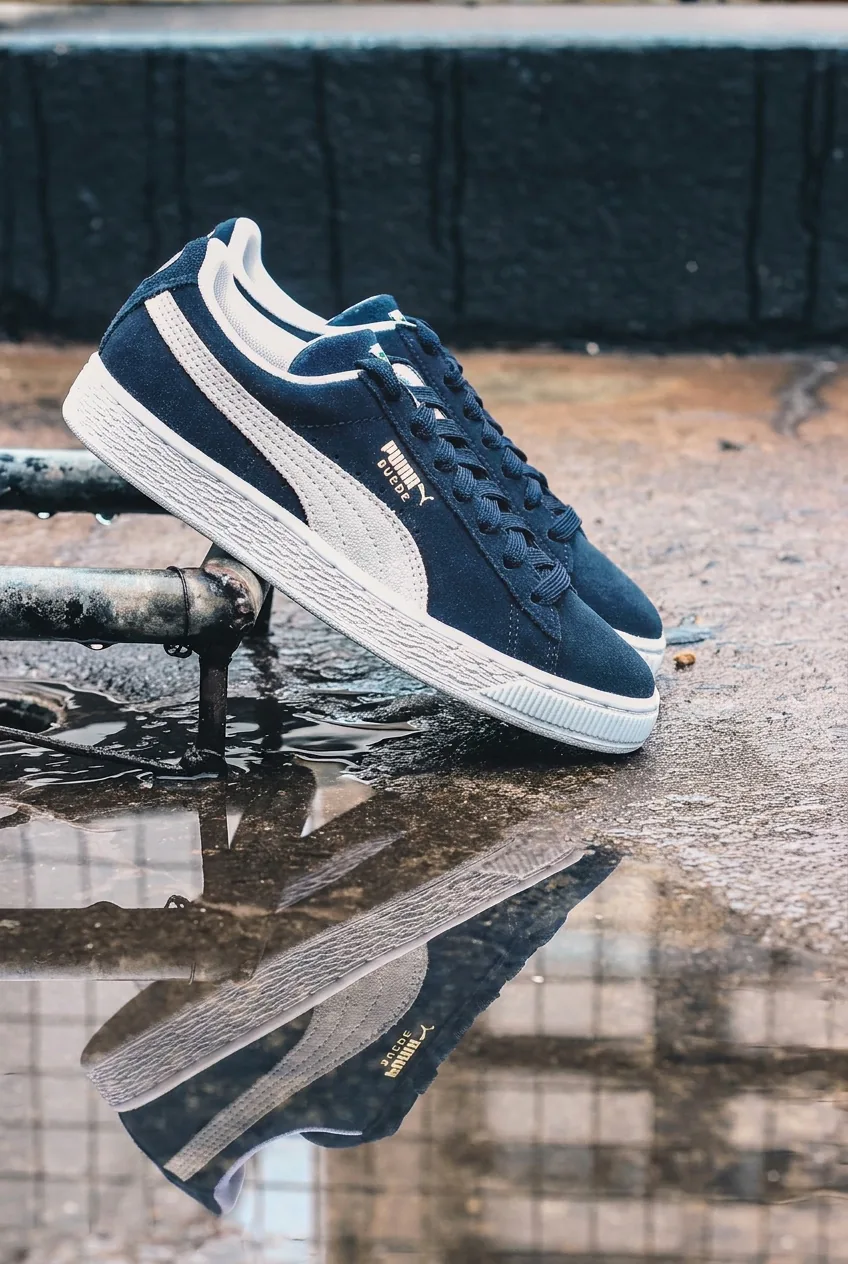
The same sneaker photo before and after one instruction to the AI photo editor: change the shoe color to blue and leave the laces, sole and background alone. Check the requested change first, then everything you did not ask to change.

A white sneaker photo before the edit
Source photo
Red suede sneakers recoloured navy blue with the AI photo editor, white stripe and sole unchanged
Edited result

Requested change

Confirm the edit landed on the right part. When several similar parts are present, the model may read a location differently, so compare the area you named and look for a patched edge or a repeated pattern. Name the part by its position and neighbors, such as the shoe upper above the white sole, rather than by color alone.

Unrequested changes

A local instruction does not guarantee an unchanged remainder. Compare faces, hands, small text, logos and straight lines with the source. A tidy fill in one place can hide a change somewhere else, and hair and clothing edges show it first. Also follow the border of the edited area for a seam or a change in grain.

Real placement

Test the chosen download in its destination crop with the real title and text. A quieter background can still compete with small type, and a face that works in a page header may be too small in a mobile card. Download the PNG or JPEG your layout needs and judge that file, not the preview.

Three AI photo editor edits and what to check in each

The same editor handles very different requests, and each one needs a different review. Name the change directly, then check the details it is most likely to disturb.

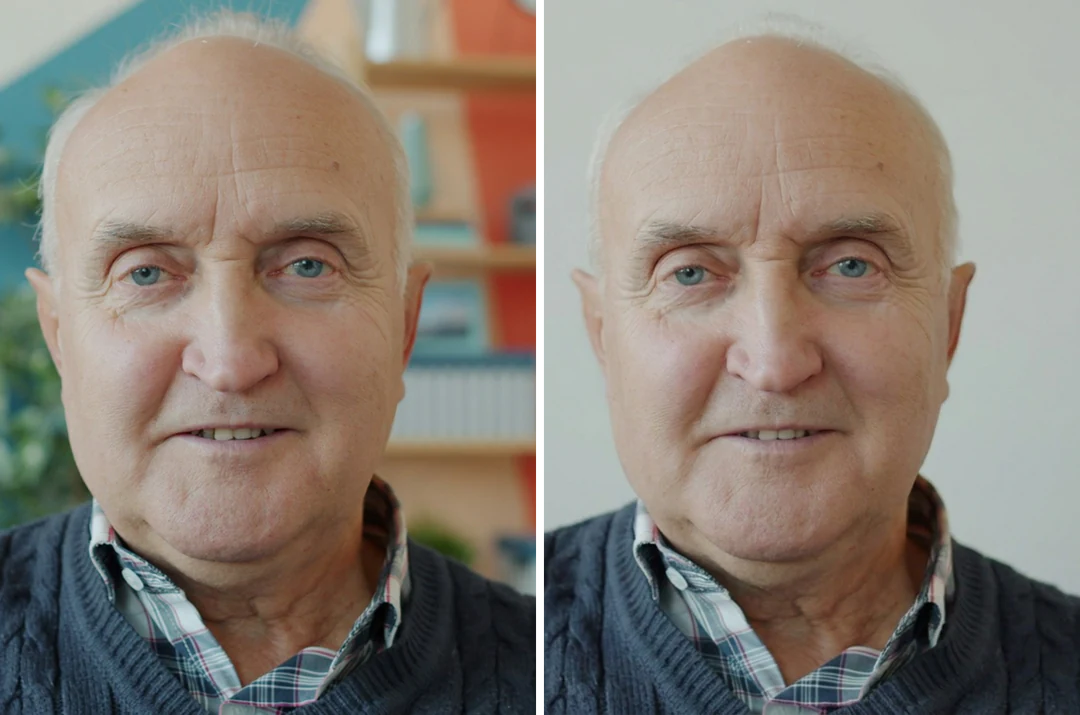
Portrait in a busy room beside the same portrait in front of a plain wall, with the face unchanged

Busy roomPlain wall

Simplify a portrait background

A portrait can have the right expression while the room behind it distracts. Name the background change, say what replaces the room, such as a plain wall, and keep the first request on the surroundings. Then compare the eyes, mouth, hairline, glasses and clothing with the source, and check the edge around hair and shoulders for halos or mismatched color.
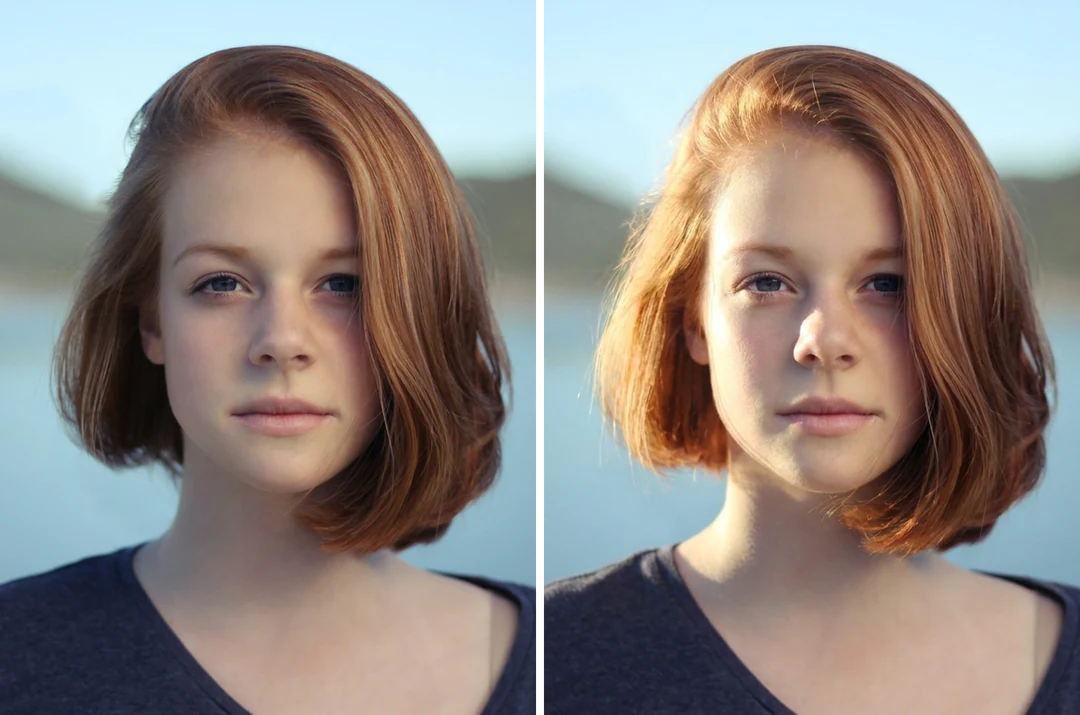
Portrait in flat light beside the same portrait with soft window light from one side

Flat lightWindow light

Change the mood through lighting

Ask for the effect, such as softer window light or less contrast between subject and background, and name the area it applies to. Treat the result as an interpreted look, not a calibrated exposure fix. Check shadow direction, reflections and contact points, and compare object colors, because a mood change can shift how materials appear. Keep the first request to one lighting change so you can tell what caused each difference.

Street photo with a sign behind the subject beside the same photo with the sign removed and the wall continued

SignRemoved

Remove a distraction

Say which unwanted object to remove: identify it by appearance and position, and describe what should surround it afterwards. The area behind it is not visible in the source, so the wall or floor that fills it is a generated continuation, not recovered evidence. Run it as its own request rather than combining it with other edits, so a patched area is easy to spot. For watermark or text removal, use the dedicated tools listed below.

How to use the AI photo editor

Three steps in the panel above: write the instruction, choose the settings, then review the whole image.

  1. 1. Upload the source and write one instruction

    Use the original image rather than a screenshot or a heavily compressed copy, and keep an untouched copy for comparison. Follow the file requirements shown in the upload area. Describe one visible change in up to 4,000 characters, and add reference images (up to 14) only when each one answers a specific question.

  2. 2. Pick model, ratio and outputs

    Choose a model, an aspect ratio from the menu (10 are available, from 1:1 to 21:9), a resolution (HD, 2K or 4K), an output format (PNG or JPEG) and one, two or four outputs. Set the ratio before judging composition, since a different shape changes what is in frame. Extra outputs only help when you know what you are comparing.

  3. 3. Generate and review the whole image

    One Nano Banana HD image costs 23 credits and one Nano Banana Pro HD image costs 45. Changing the model, resolution or output count changes the quote, which the server recalculates. Four Nano Banana HD outputs, for example, are 92 credits. Check the requested area first, then the rest of the image, then download the version you chose.

What the AI photo editor can do with your photo

Each group below is one kind of change you can ask for. Make one change per request and the result is easy to check against your source.

  1. 01

    Describe one change in plain words

    Write the change the way you would brief a retoucher: name the object, say where it is and say what should be there afterwards. An instruction can run up to 4,000 characters, and one clear change is far easier to check than a list of five.

    • Name the object and its position, not its color alone
    • Keep a second change for a second request
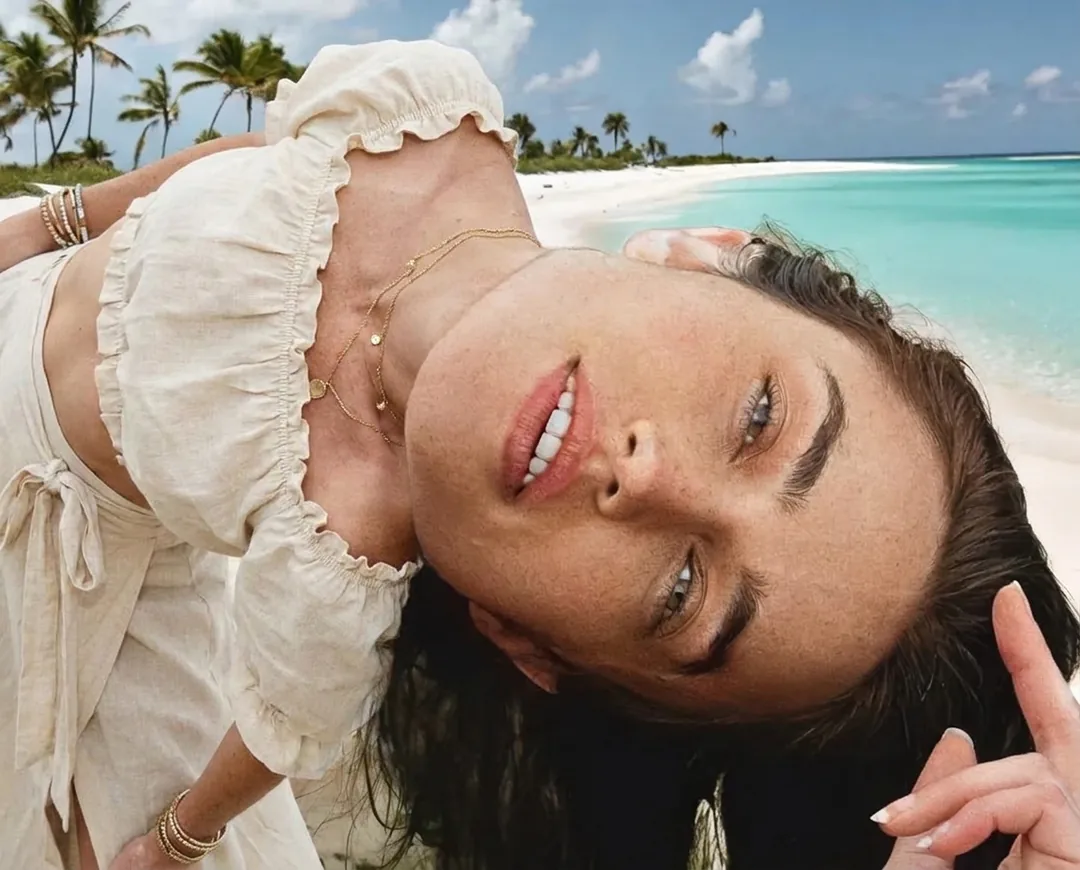
    A woman leaning toward the camera on a tropical beach after her outfit was changed to a cream blouse
    Example edit: the outfit changed with one instruction.
  2. 02

    Take an unwanted object out of the frame

    Point at the person, sign or clutter you want gone and say what should surround the gap. The area behind it was never visible in your photo, so whatever fills it is a generated continuation, not recovered evidence. Run the removal as its own request so a patched area is easy to spot.

    • Describe what should fill the space afterwards
    • Compare the neighboring texture for a seam or a repeated pattern
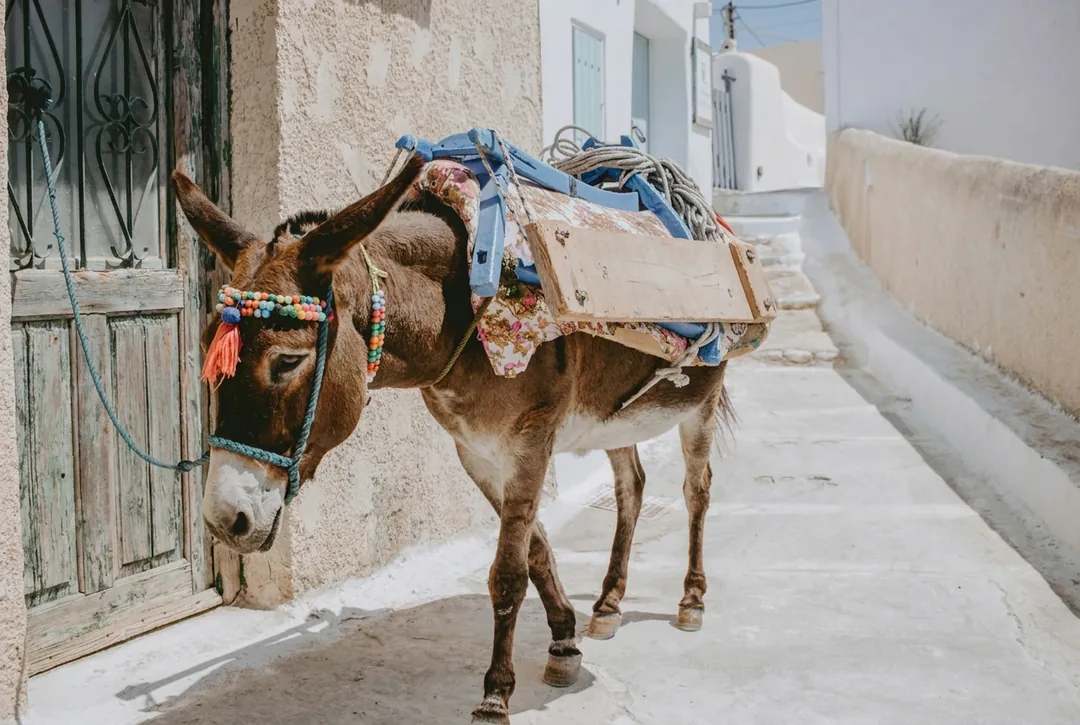
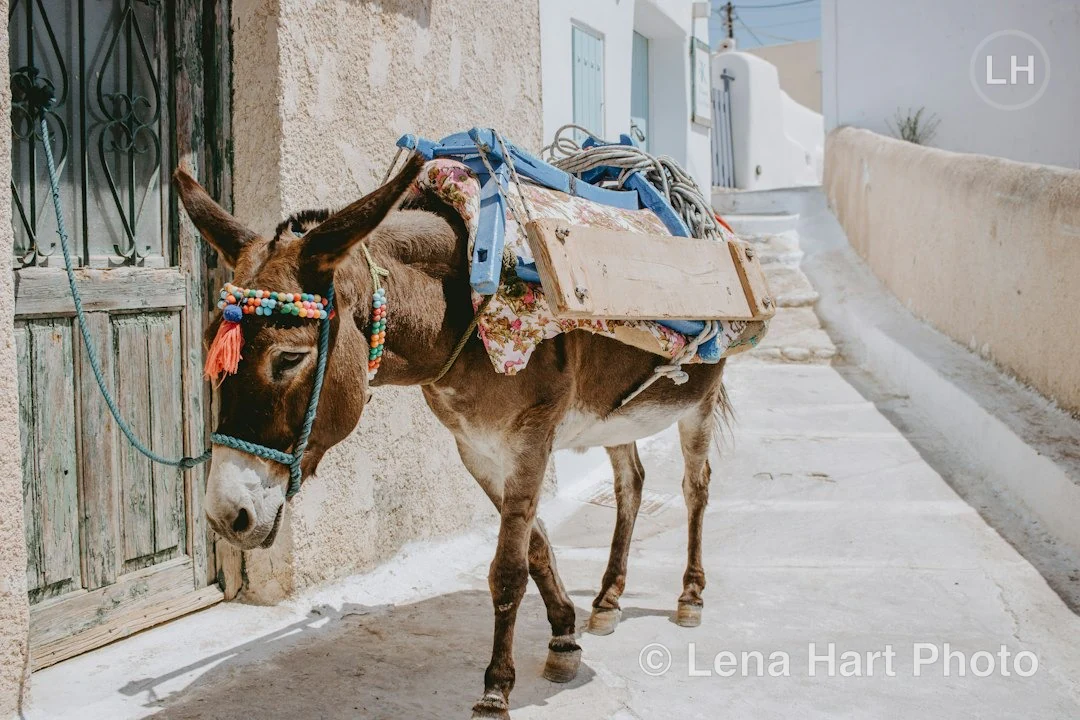
    A donkey carrying loads in a whitewashed lane after the people were removed
    Example edit: people removed from a street scene.
  3. 03

    Restyle a scene without redrawing it

    Ask for a different mood, finish or light and the editor works from the room or scene you uploaded. Treat the result as an interpreted look rather than a calibrated exposure fix: shadows, reflections and material colors can shift together, so a single change per request shows what caused each difference.

    • Name the effect and the area it applies to
    • Check shadow direction and contact points
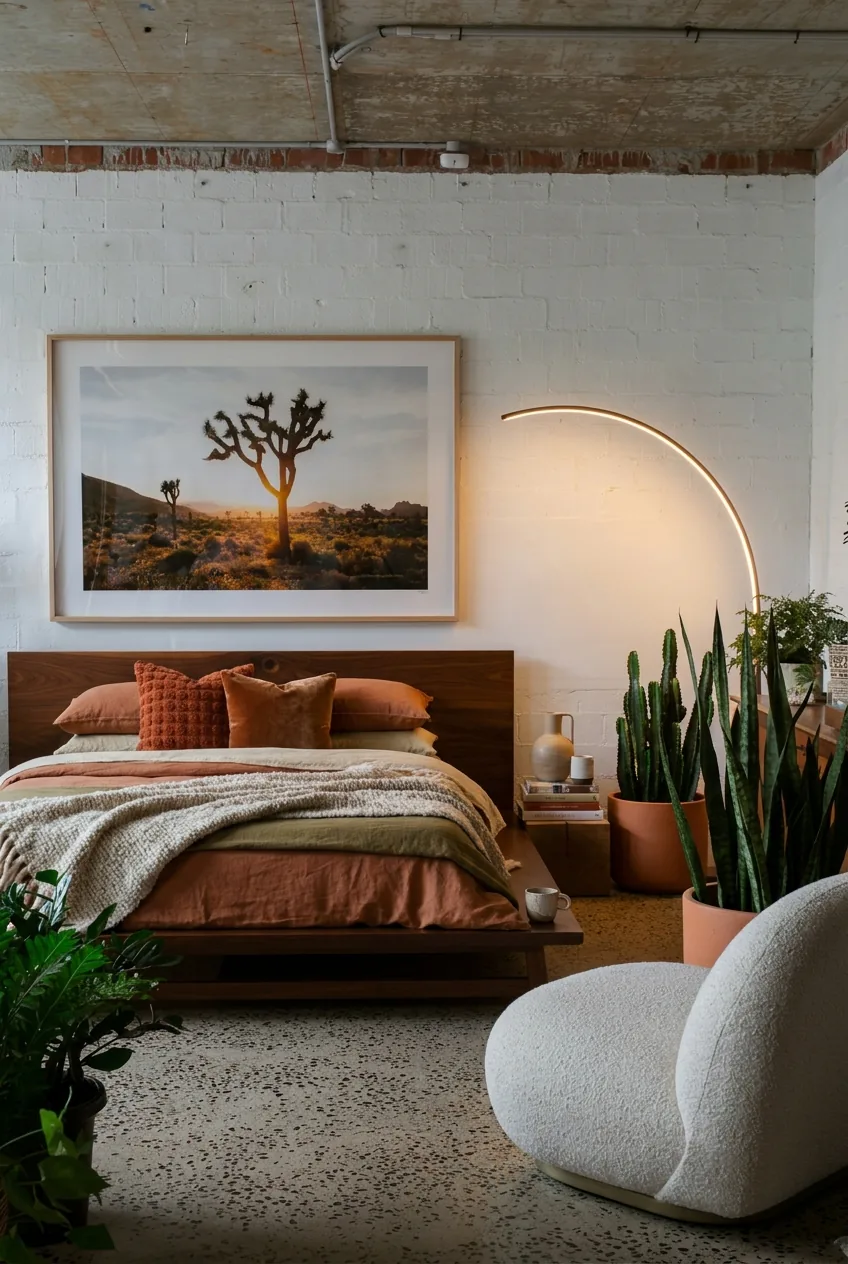
    A bedroom with a framed desert photo, a curved floor lamp and a white lounge chair after a restyle
    Example edit: a bedroom restyled while its layout stays.
  4. 04

    Pick a model, a ratio and a resolution

    Choose Nano Banana at 23 credits or Nano Banana Pro at 45 credits per HD image, then set one of 10 aspect ratios, HD, 2K or 4K, one, two or four outputs, and PNG or JPEG. The server recalculates the quote before you confirm.

    • Add up to 14 images in total, the source included
    • Set the ratio before you judge the composition
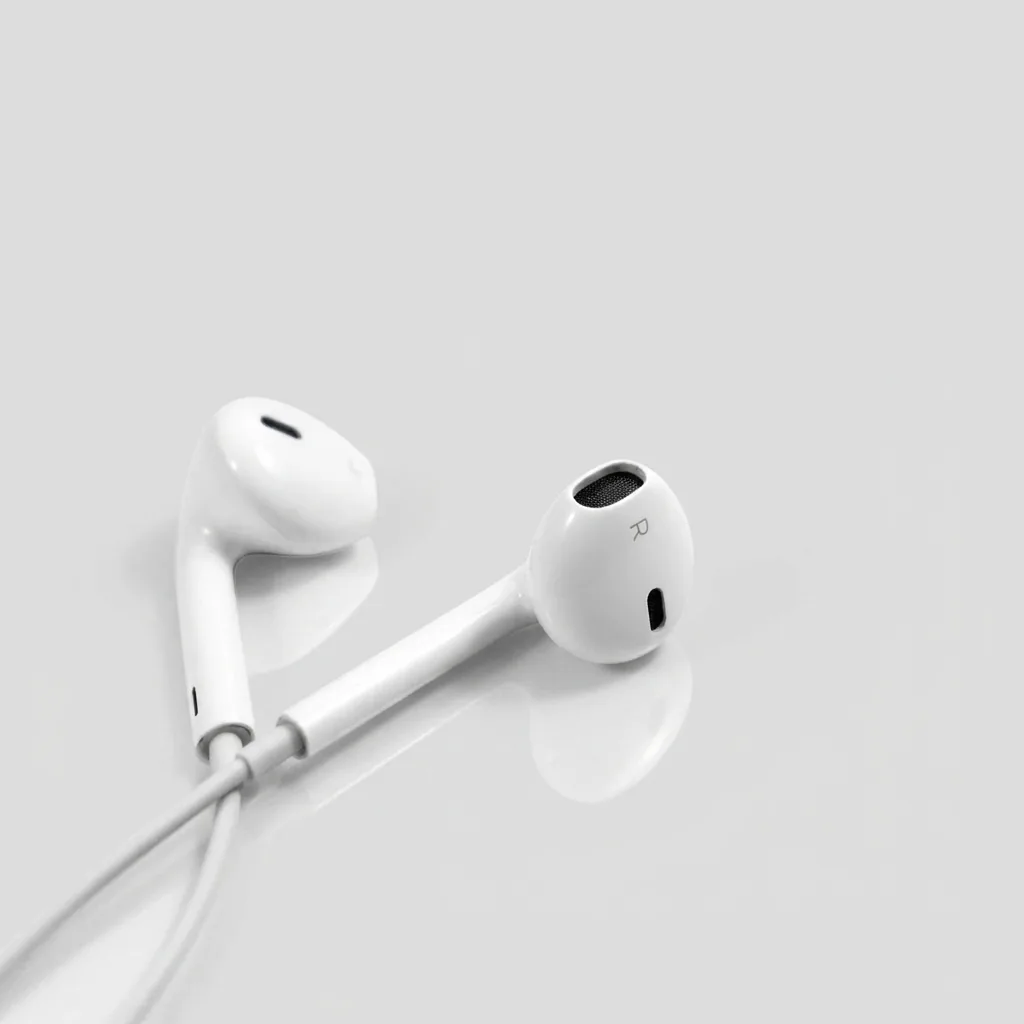
    White earbuds on a light gray surface in a square product photo
    Example edit: a product shot in a square ratio.

Keep exploring Potto AI

The AI photo editor changes what is already in the frame. These tools cover the jobs that sit next to it.

AI photo editor FAQs

What an AI photo editor does, how to word an instruction, and what to check in the edited image.

  1. What is an AI photo editor?

    An AI photo editor, also called an AI image editor, changes an existing photo from a written instruction instead of manual tools. In Potto AI you upload the photo, describe the change, choose a model and settings, and compare the results. Unlike a layered editor, the output is a new generated image, so even a local instruction can change other visible details.

  2. Can I specify one object or area to change in the AI photo editor?

    Yes. Name the object or area and describe how it should look afterwards, and give its position when similar objects are present. There is no pixel-exact mask, so the edit is guided by your words rather than a selection; compare the whole result, including the parts you did not ask to change.

  3. How should I word an instruction to edit an image with the AI photo editor?

    Name the object, say where it is, and say what should be there afterwards, in one request of up to 4,000 characters. For example, replace the bright sign behind the speaker with a plain wall, and keep the face, hair and clothing unchanged. Listing what must stay the same helps, but it is a request rather than a lock. If you want a second change, make a second request so you can see which instruction produced which difference.

  4. Can I add reference images when I edit a photo?

    Yes, the AI photo editor accepts reference images. You can attach up to 14 images in total, and the source photo counts toward that limit. Add a reference only when it answers a specific question, such as the outfit to put on a subject or the lighting to match, and say in the instruction what each image is for. A reference guides the result and does not stop other parts of the photo from changing. When you want a new picture instead of a changed original, use Image to Image.

  5. Which source photo should I upload?

    Use the original image when you have it, not a screenshot or a heavily compressed copy, and keep an untouched copy for comparison. A tiny face or a low-detail area will not gain real detail from an edit. If you crop first, keep enough surrounding context for the edit to stay coherent, and do not upload account secrets, payment details or unrelated private content.

  6. How should I judge an edit of a real person?

    Compare the expression, eye spacing, mouth, hairline, glasses and visible clothing with the source, then check the final crop at its display size. If a changed feature misrepresents the person, reject that candidate or choose a different source; asking the editor to preserve identity is a request, not a guarantee.

  7. Do I need an account to use the AI photo editor?

    You can read the examples, upload a photo and write the instruction before signing in. Generating opens the sign-in dialog, and your photo, instruction and references stay in the workspace.

  8. What if an AI photo editor request fails or I want to stop it?

    The task shows why it stopped and offers a retry, and the reserved credits are released. Replace the photo if the upload failed. Cancel a running edit from its task controls, because closing the preview does not stop it. Asking for another edit of a finished result is a new, charged request.

  9. How do I check the cost before I edit a photo with the AI photo editor?

    The quote is on the Generate button and updates with every setting. One HD image costs 23 credits with Nano Banana and 45 with Nano Banana Pro; higher resolutions and more outputs cost more, so four Nano Banana HD outputs are 92 credits. Another edit of a finished result is a new request. Subscriptions and credit packs are explained on Pricing.

Potto AI

Edit your photo with words

Upload a source, describe one change for the AI photo editor and check the whole image before you download.