Skip to content
Potto AI

Enhance an image and compare it with the source

A reduced source beside its enhanced result shows how to judge an image enhancer result. Compare lettering, strokes and paper edges at the size the image will be used, not only in a zoomed preview.

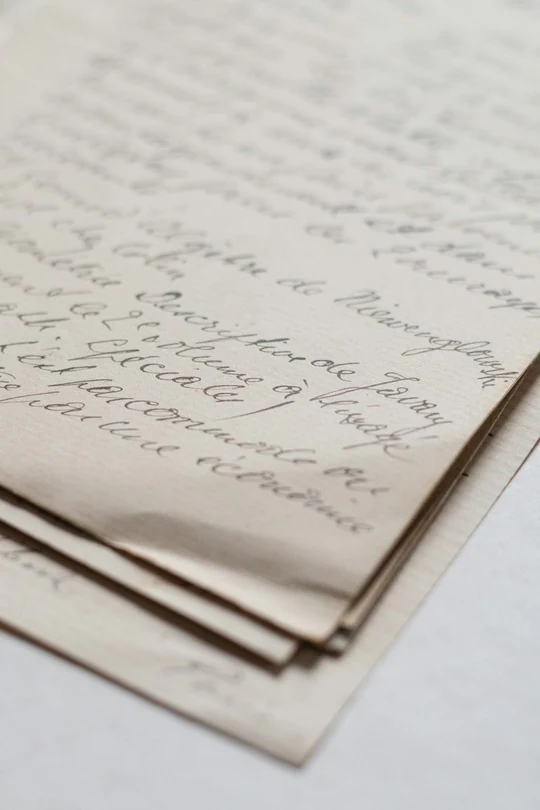
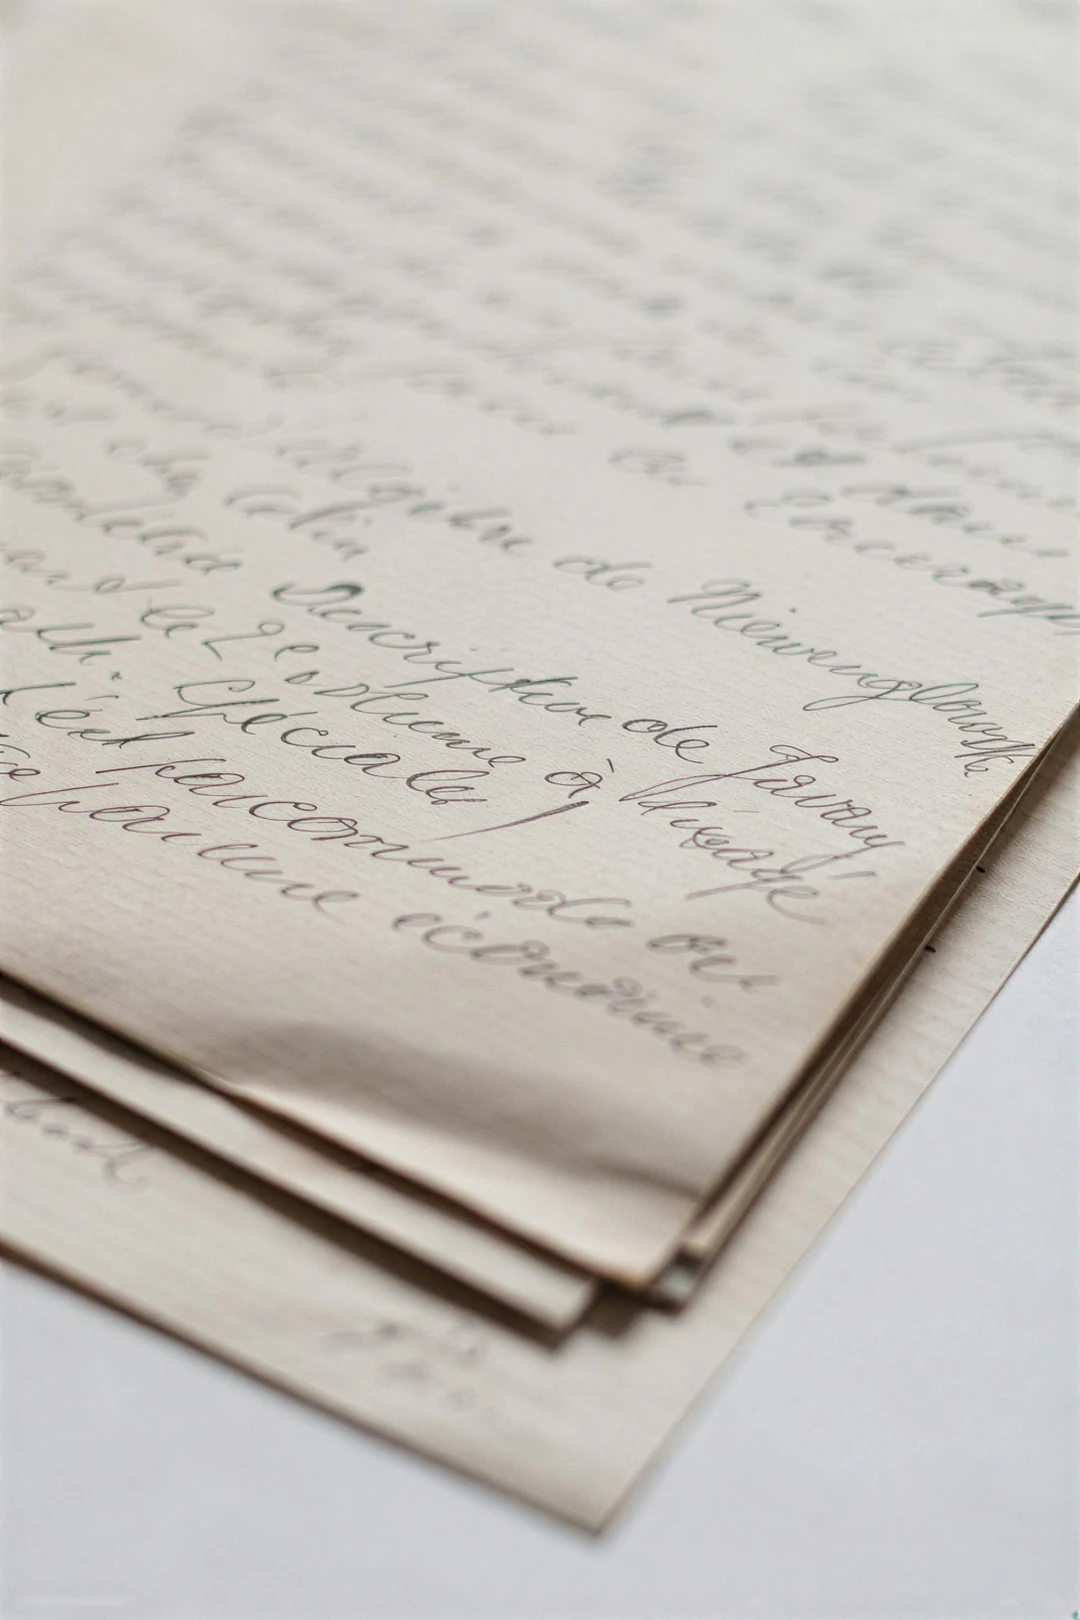
The same handwritten pages at 540×810 before upscaling, soft ink strokes
Source
The same handwritten pages enlarged 2x with the image enhancer, ink strokes and paper fibres sharper
Enhanced · 2×

What stayed

The page layout, the slant of the writing and the order of the lines stay as they were, because the image enhancer enlarges the picture rather than redrawing it. The source remains the reference for every letter and every line.

What changed

Strokes and paper edges gain pixels, so soft lines read more cleanly at the larger size. Fine detail is rebuilt, so a sharper stroke can still bend the wrong way and a crisp letter can become a different character.

What to check

Compare the source and the enhanced image at the same display size, then inspect lettering, strokes, edges and repeated shapes at full size. Stop when the image meets its purpose. Repeated passes add processing, not information.

Where an image enhancer helps most

Here enhancement means a larger, cleaner image. Pick the scale from the destination, then check the details that must stay recognizable.

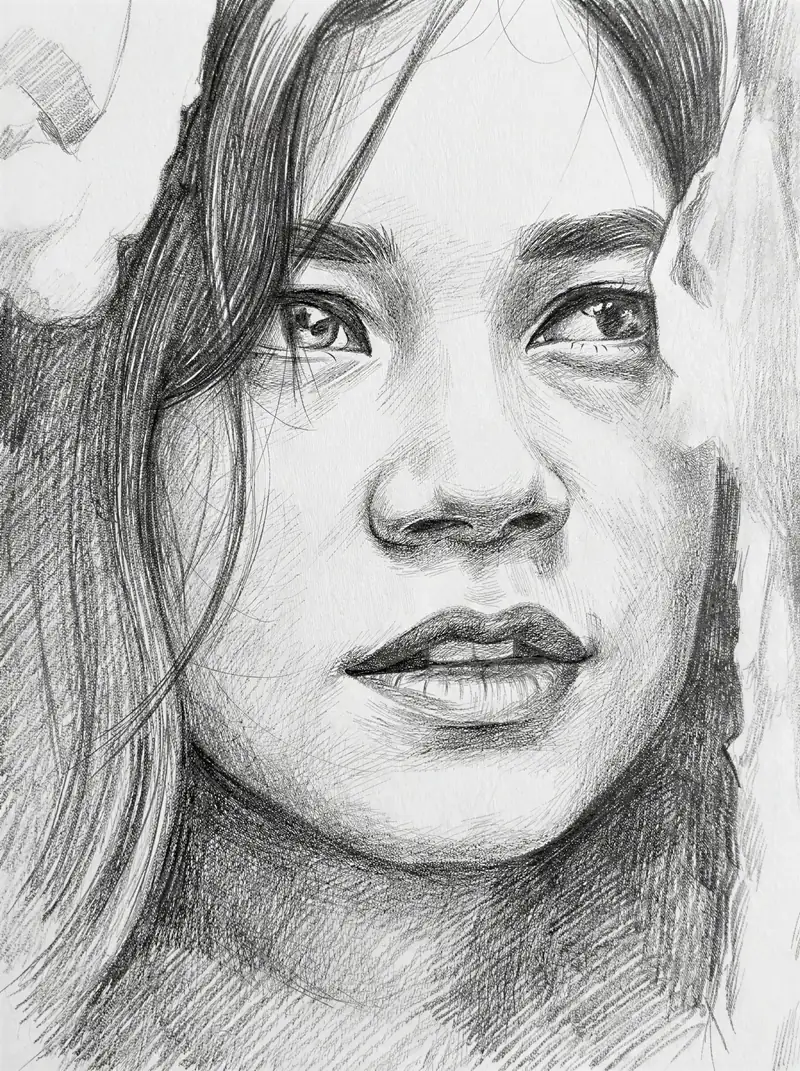
Graphite pencil portrait enlarged 4x with the AI image upscaler, hair strokes and paper grain sharp

Source2×

A raster illustration for a website

A small illustration turns soft in a wide article card. Look for a larger original or a vector export first. If only the raster exists, run it through the image enhancer, then check the marks that make the artwork distinctive and view it at mobile width. Keep supporting labels as page text instead of image lettering.
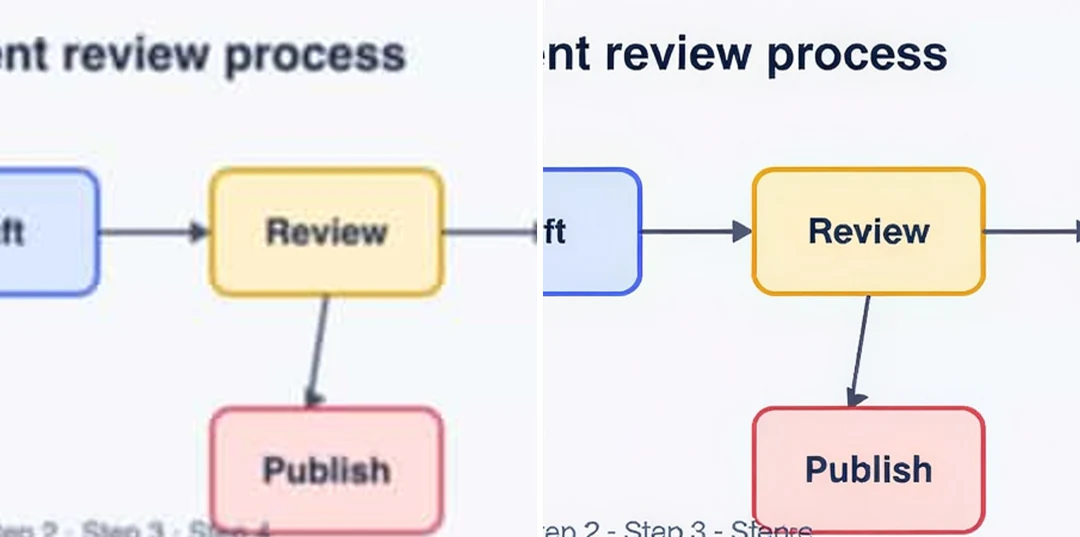
Soft presentation diagram beside its 2x enhanced version with labels and arrows readable

Source2×

A diagram for a presentation

A soft diagram can look clean while an arrow points to the wrong box or a letter changes. Check labels and connectors against the verified wording at slide size. If the diagram needs a long explanation to decode, rebuild it from an editable original instead of enhancing it again.

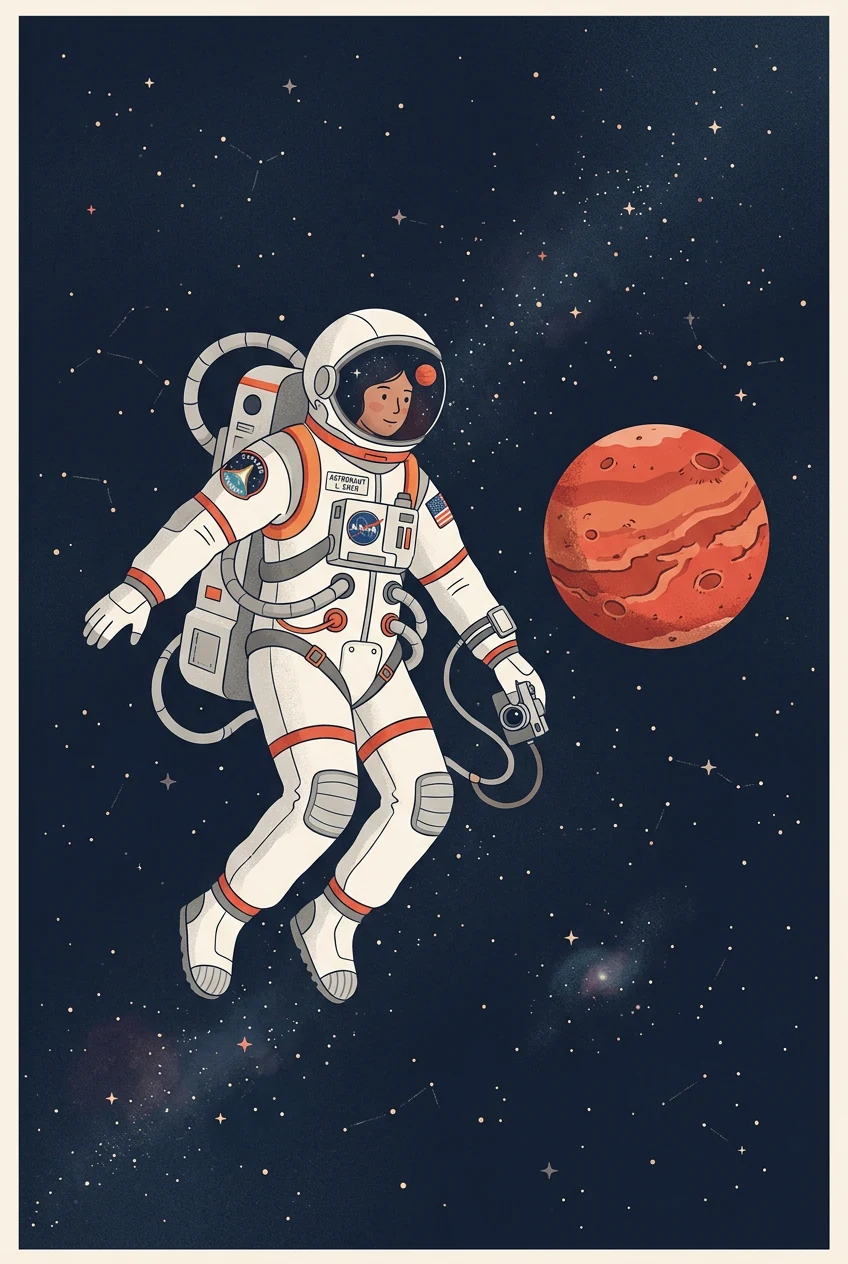
Astronaut in a white spacesuit floating beside a small red planet, a text-to-image illustration

Source4×

A generated image for a layout

An AI image can have the right mood but look soft in the layout. Confirm the picture is acceptable first: wrong fingers or accidental lettering are content problems, not texture. Then compare the face, hands and key objects after you enhance the image, because added detail can change the style.

How to enhance an image

Three controls in the panel above.

  1. 1. Upload the source image

    Add a JPEG, PNG or WebP image up to 10 MB, ideally the original file rather than a copy saved from a message. Look at it at the size you will use: if it only looks soft when zoomed, it may already work. A batch depends on your plan, and each image is its own task.

  2. 2. Choose 2× or 4×

    2× has a 2,048-pixel long-edge limit and 4× has 4,096, so the output can be smaller than the named factor. A 1,500 × 1,000 source cannot become 3,000 × 2,000 at 2×, so it is scaled to fit. A source already at a limit cannot use that scale.

  3. 3. Enhance the image and compare

    Enhancing an image costs 2 credits per source at 2× and 6 at 4×, shown on the Generate button before you confirm. Compare the result with the source at matching size, check faces, lettering and repeated patterns, then download it and keep the source.

What the image enhancer does to your image

Four things to know before you enhance an image: the scale you pick, the size you get back, the detail it adds and how each file is handled.

  1. 01

    Choose 2× or 4× for where the image will go

    Two scales are available. Use 2× for a web card, a slide or a print proof, and 4× when a small source has to fill a large layout. The credit estimate for the scale you pick is on the Generate button before you confirm.

    • 2× keeps the long edge within 2,048 pixels
    • 4× keeps the long edge within 4,096 pixels
    Graphite pencil portrait enlarged 4x with the AI image upscaler, hair strokes and paper grain sharp
    A pencil portrait enhanced 4×: strokes and paper grain come back.
  2. 02

    Check the output size before you rely on it

    The image enhancer limits the long edge of the result, so a source can come back smaller than the named factor. A 1,500 × 1,000 photo is scaled to fit at 2× instead of reaching 3,000 × 2,000, and the result line says when that happened.

    • The result line shows source size, output size and the factor used
    • A source already at a limit cannot use that scale
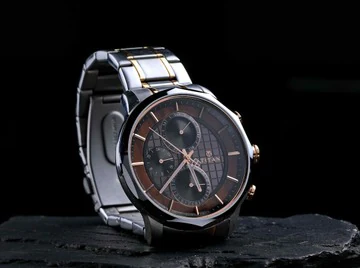
    The same watch photo at 360×268 before upscaling, blurry bracelet and dial
    A soft source photo. The output size depends on its pixel dimensions.
  3. 03

    Detail is rebuilt, so compare it with the source

    Enlarging adds pixels, and the fine detail in them is inferred. Strokes, edges and textures usually read more cleanly at the larger size, but a rebuilt stroke can bend the wrong way. Put the source and the enhanced image at the same display size before you decide.

    • Check lettering, arrows and repeated patterns first
    • The image enhancer does not add exposure, denoise or color sliders
    The same handwritten pages at 540×810 before upscaling, soft ink strokes
    Compare handwriting and paper edges at the size the image will be used.
  4. 04

    Each image is its own task

    The image enhancer accepts JPEG, PNG or WebP files up to 10 MB. On plans with batch access you can upload several images together, and each one is processed, priced and downloaded on its own. Review every result before you use it.

    • 2 credits per image at 2× and 6 at 4×
    • Keep the original beside the enlarged copy
    Astronaut in a white spacesuit floating beside a small red planet, a text-to-image illustration
    Generated images can be enhanced too. Check faces and hands afterwards.

Keep exploring Potto AI

When the image needs something other than a larger copy, these tools cover the next step.

Image enhancer FAQs

  1. What is image enhancement?

    Image enhancement means processing an image so it works better for a purpose, such as a sharper web card or a cleaner slide. The Potto AI image enhancer does this by enlarging the image 2× or 4× and rebuilding fine detail at the larger size. It does not offer exposure, denoise or repair sliders, so define the problem first and check the result against the source.

  2. Is enhancement the same as enlarging an image?

    Not in general: enhancement is the goal, enlargement is one way to reach it. This image enhancer enhances by enlarging and rebuilding detail, which helps when an image is too small or soft for its placement. If the real problem is the wrong content, a bad crop or unreadable labels, an edit or an editable original is the better fix.

  3. Which files and scales can I use?

    The image enhancer accepts JPEG, PNG or WebP images up to 10 MB. The 2x option has a maximum output long edge of 2,048 pixels and 4x has 4,096, so the actual enlargement can be smaller than the named factor: a 1,500 by 1,000 source is scaled to fit at 2x. A source already at or beyond a limit cannot use that scale, and in a batch one such image makes that scale unavailable for the group. Each accepted image becomes its own task.

  4. What does the image enhancer not do?

    The image enhancer does not offer dedicated controls for white balance, exposure, noise reduction or beauty retouching, and a generative result can still change small areas. A very dark, faded or heavily compressed picture may lack the information to enlarge; sharper-looking structure there is newly inferred. For documents, receipts and identity material where exact characters matter, keep the original. Severe motion blur is a separate limitation, covered on the Unblur Image page.

  5. Can this fix a small diagram or logo?

    The image enhancer does not know what a label, symbol or logo should say, so verify every line and shape even on a suitable raster source. Generated detail can change their meaning. When exact geometry or lettering matters, such as a logo or brand icon, start from the vector original or an editable original instead of treating apparent sharpness as accuracy.

  6. What should I check in the result?

    Compare the source and result at the same display size before zooming in. Then inspect faces, hair, lettering, repeated patterns and fine edges at full size, and look for ripples in straight lines or marks in smooth areas. Finally view the image in its real layout. Stop when it meets the purpose; a larger file is a reviewed copy, not a replacement for the original.

  7. Do I need an account to use the image enhancer?

    You can upload an image and choose 2× or 4× before signing in. Enhancing opens the sign-in dialog, and the image and setting stay in the image enhancer.

  8. What if the image enhancer fails?

    A failed enhancement shows the reason and a retry, and its credits are released. If the upload failed, use a JPEG, PNG or WebP file within the size limit. Enhancing a finished result again is a new, charged request.

  9. How much does the image enhancer cost?

    Enhancing an image costs 2 credits at 2× and 6 credits at 4×. The button shows the amount before you confirm, and failed tasks release their credits.

Potto AI

Enhance your image

Upload an image, choose 2× or 4× and compare the result with the source before you download.